Host a Static Website using Azure Storage Account
Last Updated on 24 Jul 2021 by Ankur Gupta
10 mins read
In this article, we'll be hosting a static website using Azure Storage service using Azure CDN, this is a good way of hosting Static websites as it is highly cost effective too.
To begin with, you need an Azure account. You can create one for free and if you are a student you can check out the Github Developer pack which includes some free Azure credits too.
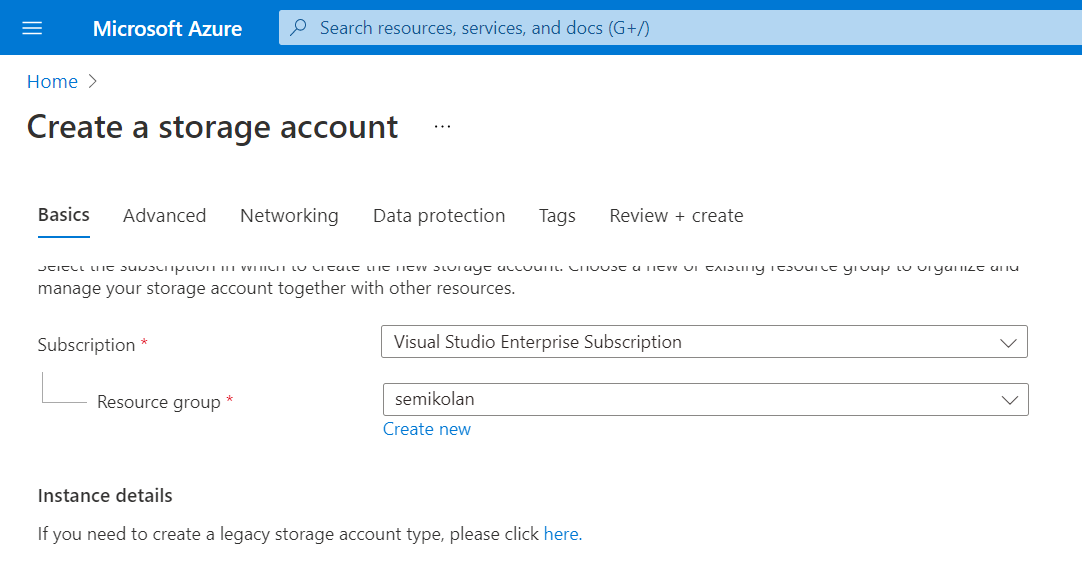
After creating the account, we'll go to the Azure portal, that is https://portal.azure.com and create a new Storage Account, you can also search "Storage Account" and click on create new.

Then you can enter the details including the Resource group name, Azure region and the storage account name, all these can be anything you want based on your need.

Then you can click on Review + create button and then the final Create button will create your Azure Storage Account, you can also do these methods by other different methods such as using Azure CLI, Azure Powershell etc.
It will take a while to configure, it'll show Deploying and after sometime you'll get a button to go the resource.

You can now go to the resource.
Now we need to enable Static Websites in Azure Storage, for this, just go to the Static Website under Data Management, click on the Enable button and then save the changes.

Now that Static Website is configured, we can now add our website code to the Azure container, for that, you can go to the Containers option under Data Storage where you'll also see a $web already created.

Under the $web folder, you can now add your website code by directly uploading through the portal, using VS Code Azure Extension or any other way. For now, we'll upload them directly through Azure Portal. To do so, just go to the Upload option above the folder, choose the files you want to add and they'll be uploaded.

Now that our content is updated, we just need to configure Azure CDN to map our custom domain. If you do not want a custom domain, you can already see your website live by going to the endpoint mentioned in "Static website" panel. Mine was https://semikolan.z13.web.core.windows.net/ in that case.
To configure Azure CDN, we need to go to Azure CDN panel under the Security + Networking, then choose create new endpoint option, insert our details like endpoint name and pricing tier, make sure to choose the Static website as the Origin hostname and not the blob one, then click on create.

Now that the Endpoint is created, we can now click on the created Endpoint, and then add our custom domain to the endpoint. But before that we'll also need to add a CNAME record pointing to the endpoint name in our custom domain's DNS record.
That is, we point the CNAME record of www.semikolan.co -> our endpoint hostname, which is semikolan.azureedge.net in my case. For the root domain semikolan.co, we can use url forwarding to forward it to www.semikolan.co which is the easiest way.
Then we can click on add custom domain, enter the domain name such as www.semikolan.co and save the changes.

Now that we have added our domain, we can also configure https on our domain. To do so, open the domain name under the hostname, that is,

and then select the 'on' option under Custom domain HTTPS and hit Save.


It will now take a while to configure, you can see the progress by going to the custom domain name. The website will be then be deployed on the custom domain. You can see the website live now, which in my case is at https://semikolan.co.
Relavent Tags: Azure, Static-website, Web